Mastering Lost Wax Casting: A Comprehensive Guide to Crafting Exquisite Metal Artworks
Lost Wax Casting, an ancient technique dating back over 5,000 years, continues to play a pivotal role in the modern art and manufacturing industries. According to the Global Crafting Market Report 2023, the market for metal artworks and sculptures is projected to grow at a CAGR of 5.2% over the next five years, highlighting an increasing demand for unique, handcrafted pieces. Lost Wax Casting enables artisans and craftsmen to produce intricate designs with precision and detail that are often unattainable through other methods.
The versatility of this technique not only allows for artistic expression but also meets the growing consumer preference for bespoke items. This comprehensive guide aims to explore the nuances of Lost Wax Casting, equipping creators with the knowledge needed to master this timeless craft and elevate their metal artworks in a competitive marketplace.
Choosing the Right Materials for Lost Wax Casting Success
Choosing the right materials for lost wax casting is crucial for achieving high-quality metal artworks. The process typically involves creating a wax model, which is then coated with a ceramic shell. One of the key materials in this process is the investment material used for the ceramic shell. According to a report by the International Journal of Art Casting, advanced silica-based investments offer superior heat resistance and improved surface finish, thus reducing the need for extensive post-casting work. Selecting an investment that can withstand high temperatures is essential, especially when working with metals like bronze or silver that require precise pouring temperatures.
Another critical aspect to consider is the wax itself. The choice of wax can significantly impact the details and overall quality of the final piece. A study published in the Journal of Materials Science found that using specialized, low-expansion waxes can minimize shrinkage during cooling, which is especially important for intricate designs. Furthermore, integrating additives that enhance pouring capability helps ensure a smooth flow during casting. By meticulously selecting both the investment material and the wax, artisans can greatly enhance their chances of producing exquisite metal pieces that not only reflect their artistry but also maintain structural integrity and aesthetic appeal.
Step-by-Step Process of Creating Your Wax Model
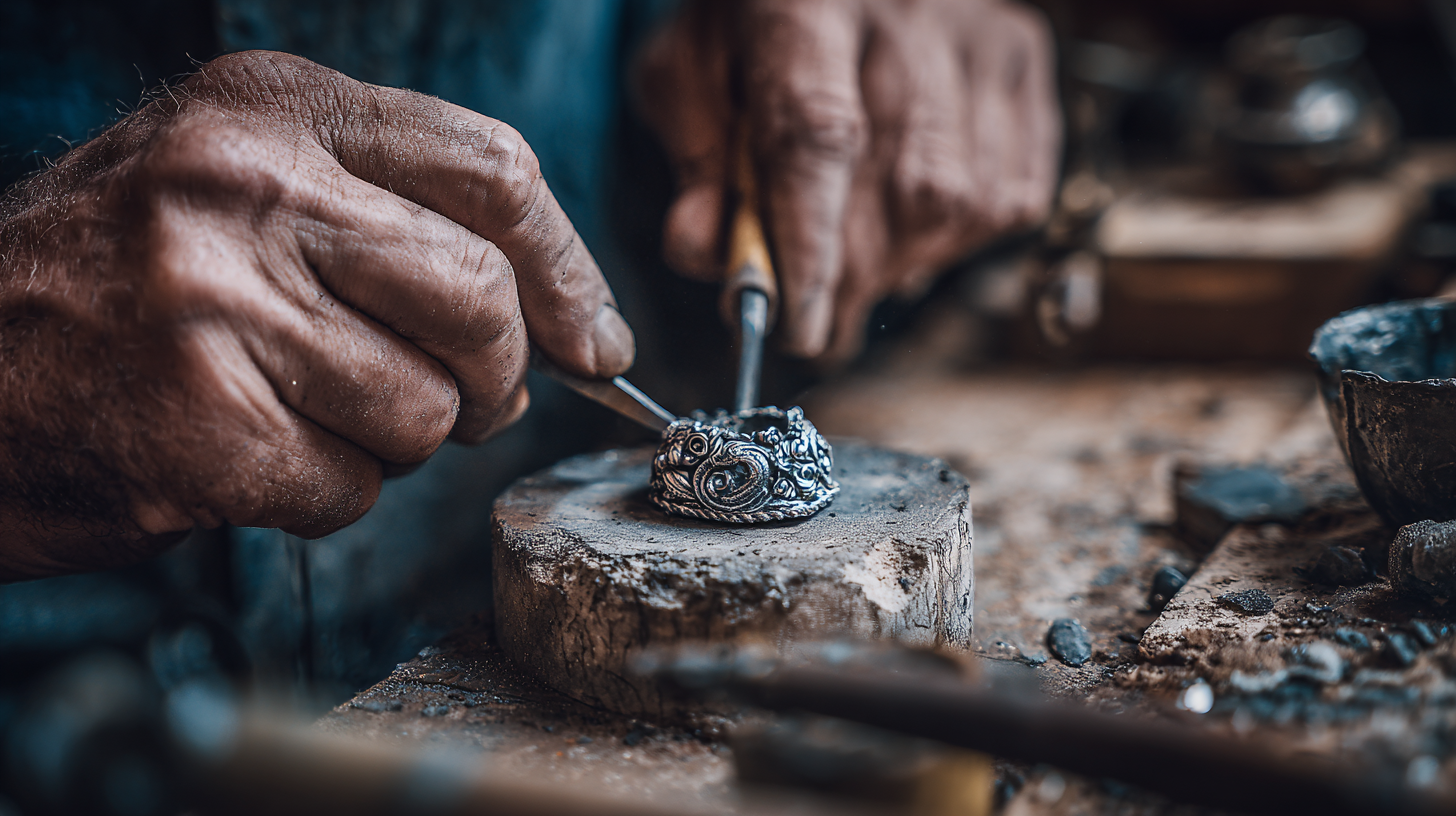
Creating a wax model is the foundational step in the lost wax casting process, allowing artists to shape their ideas into tangible form. Start by selecting the right type of wax that suits your project needs. Softer waxes are easier to manipulate and carve but may require the application of support structures. Once your wax is selected, sketch your design on paper and then transfer it to the wax surface with a fine needle tool, ensuring precision in your work.
As you craft your wax model, remember to regularly step back and evaluate your progress. This will help you identify any necessary adjustments before they become difficult to fix. Here are a few tips to enhance your modeling skills: First, use a heat source, such as a warm air gun, to soften the wax, making it easier to shape. Second, keep tools handy for various textures; these can create unique finishes and details in your artwork. Lastly, be patient and take your time with each element, as the quality of your wax model directly influences the final casting outcome. By honing your techniques, you’ll create a stunning piece ready for the next stages of the lost wax casting process.
Preparing the Mold: Techniques and Best Practices
When preparing the mold for lost wax casting, attention to detail is essential to achieve exquisite results. The process begins with creating a detailed wax model of your artwork, ensuring that every contour is captured accurately. Once the model is complete, it is encased in a heat-resistant material, typically a mixture of silica sand and a bonding agent. This mixture is applied in layers, allowing it to harden and form a precise negative imprint of the original wax model.
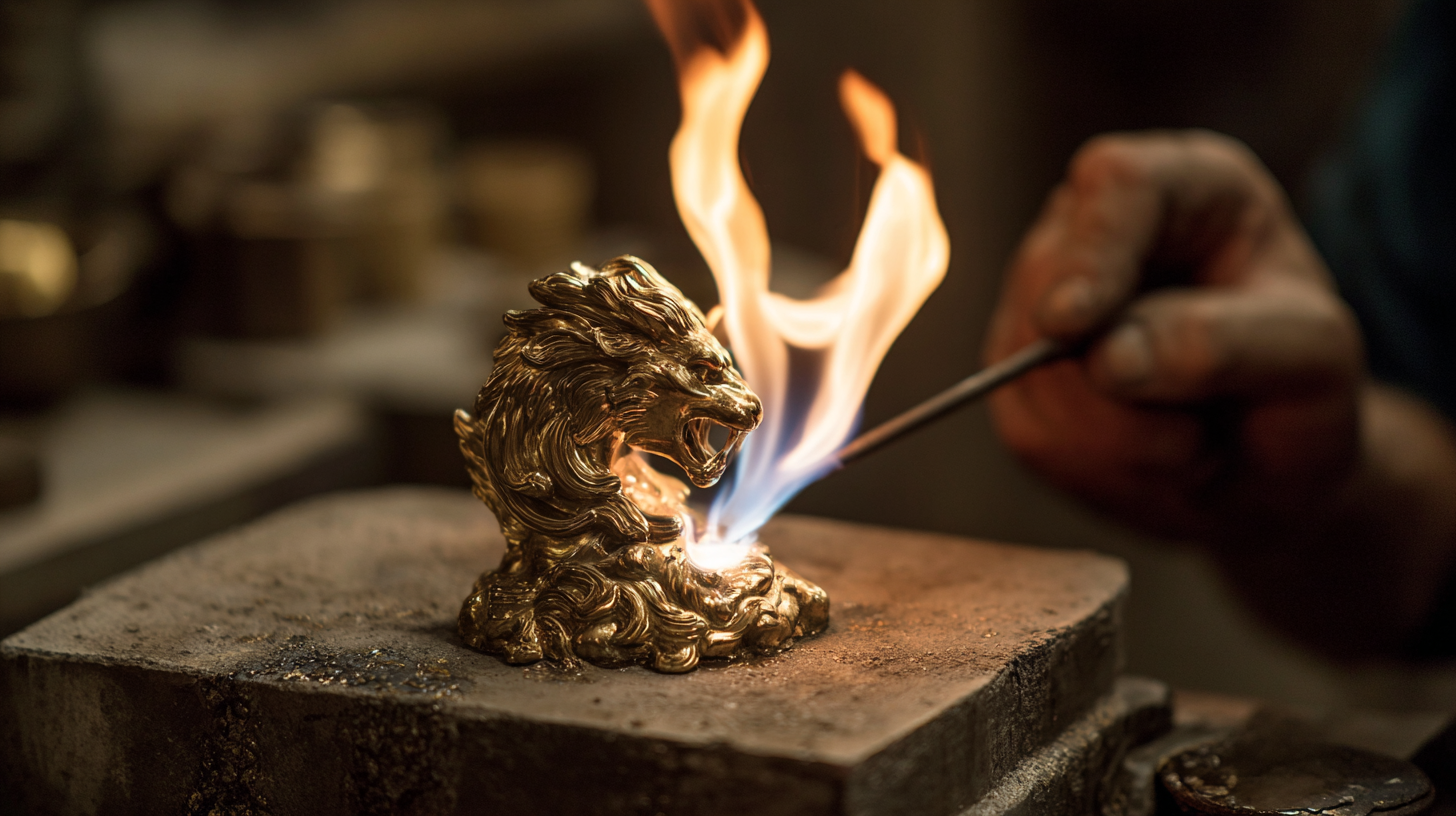
After the mold has set, a critical step involves heating it to remove the wax. This can be achieved through various methods, including baking in an oven or using a flame. The temperature must be carefully controlled to prevent damage to the mold while ensuring that the wax completely melts away. Once the wax is eliminated, the mold is preheated before the molten metal is poured in. The heat from the mold helps maintain the fluidity of the metal, resulting in a perfect fill that captures all the intricate details of the artwork.
By following best practices in mold preparation, artists can elevate their metal casting projects and create stunning, high-quality pieces.
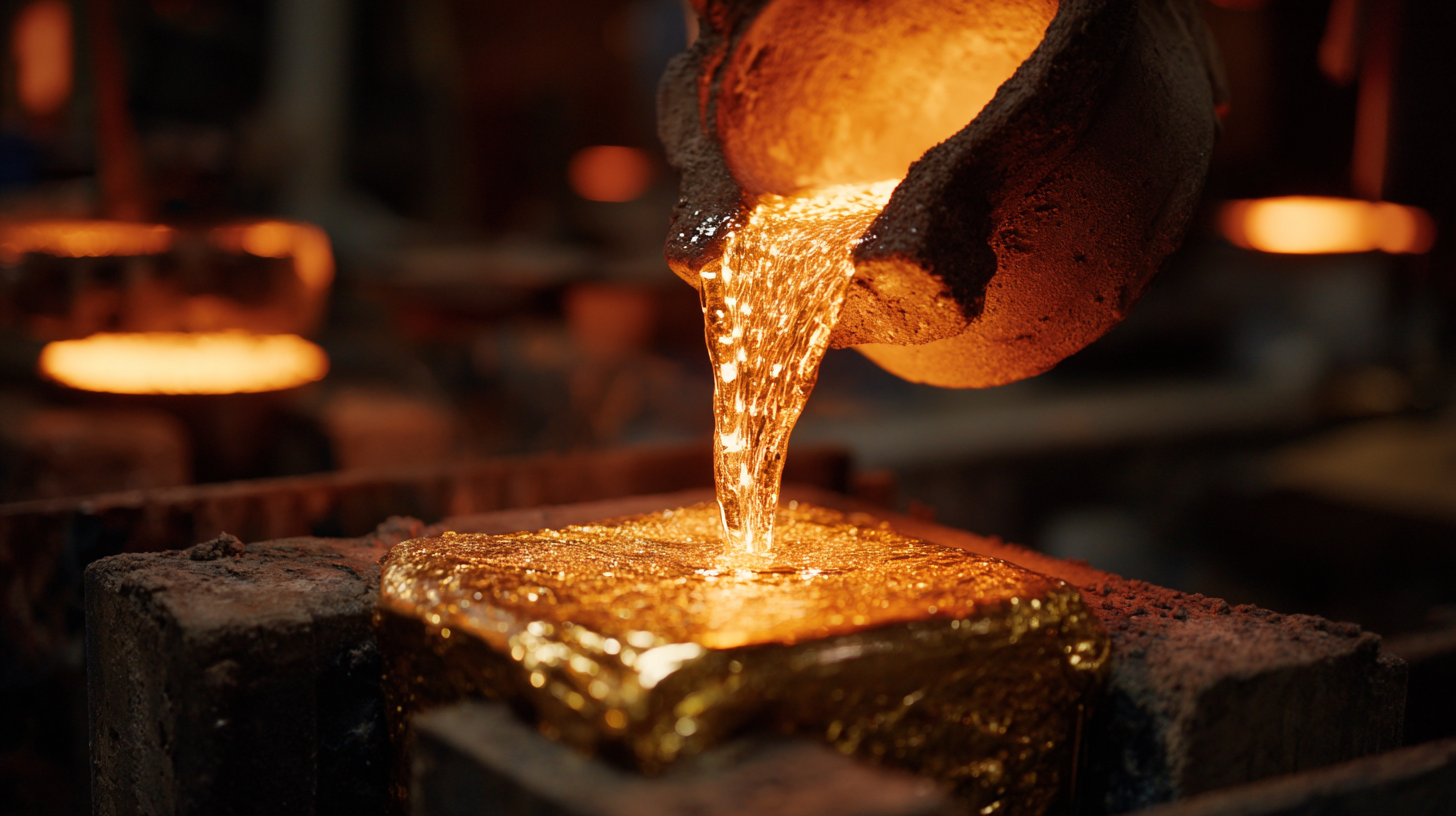
Casting Metal: Pouring, Cooling, and Finishing Tips
Lost wax casting remains a time-honored technique for creating exquisite metal artworks, allowing artisans to capture intricate details through a meticulous process. The journey of crafting begins with pouring molten metal into a meticulously prepared mold, which can be further enhanced by employing methods like sand casting. This technique, with its historical roots, offers a fascinating view into the craftsmanship involved, showcasing the careful cooling and finishing phases that are crucial for achieving a refined and polished final product.
Incorporating modern advancements, such as 3D printing for precious metals, elevates the possibilities within metal casting. Artists and manufacturers can enjoy a comprehensive toolkit that streamlines the design and production processes. Furthermore, understanding the nuances of cooling durations and the application of thermal treatments can significantly impact the quality and durability of the final piece. As the industry evolves, blending traditional methods with innovative technologies allows for a broader exploration of artistic expression and efficient manufacturing, ensuring these ancient techniques remain relevant in today's market.
Mastering Lost Wax Casting: A Comprehensive Guide to Crafting Exquisite Metal Artworks
| Step |
Description |
Tips |
Estimated Time |
| 1 |
Create a wax model of your design. |
Use high-quality wax for better detail. |
2-3 hours |
| 2 |
Cover the wax model with a ceramic shell. |
Ensure an even and smooth layer. |
1 hour |
| 3 |
Heat the shell to allow the wax to melt out. |
Control the temperature for even melting. |
30 min |
| 4 |
Pour molten metal into the shell. |
Ensure the metal is at the right temperature. |
15 min |
| 5 |
Cool and remove the ceramic shell. |
Let the metal cool completely before removal. |
1 hour |
| 6 |
Finishing: polish and assemble the final piece. |
Use appropriate polishing tools for the best finish. |
2-4 hours |
Common Challenges in Lost Wax Casting and How to Overcome Them
In the world of lost wax casting, artisans often face common challenges that can significantly impact the quality of their metal artworks. According to a report by the Jewelry Industry Research Institute, a staggering 30% of castings fail due to issues such as air bubbles and improper temperature control. These technical pitfalls stem from inadequate mold preparation and insufficient understanding of the materials involved. Ensuring a thorough vacuuming process and adhering to precise temperature specifications are vital steps that can dramatically enhance the success rate of each casting project.
Another critical challenge is the finishing process after casting, where detail work can make or break the final piece. A survey conducted by the Metalsmiths Association revealed that about 25% of artisans cited finishing as a major bottleneck, particularly when dealing with intricately designed models. To overcome this, investing in high-quality tools and taking the time to practice and refine techniques such as sanding and polishing can yield stunning results. Additionally, incorporating feedback loops within production allows artisans to continuously improve their craftsmanship and address specific weaknesses in their process.